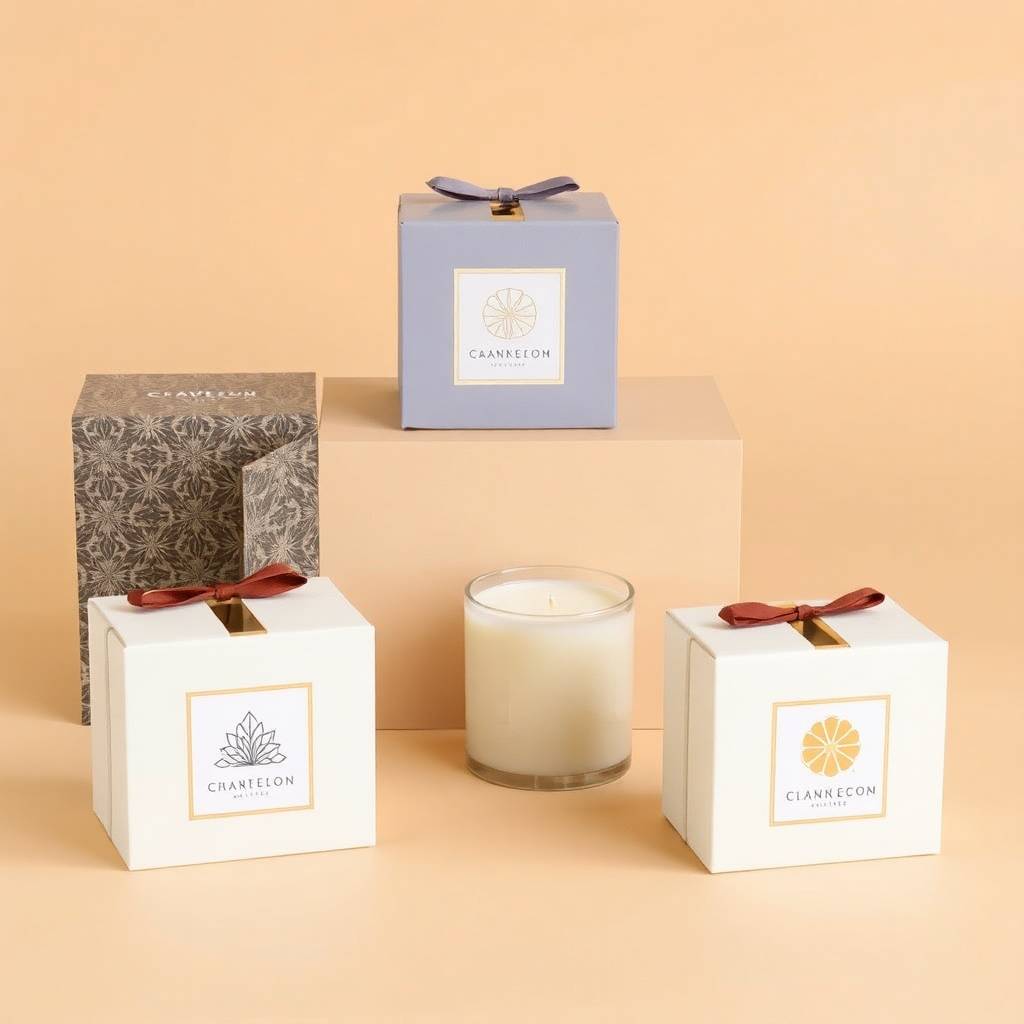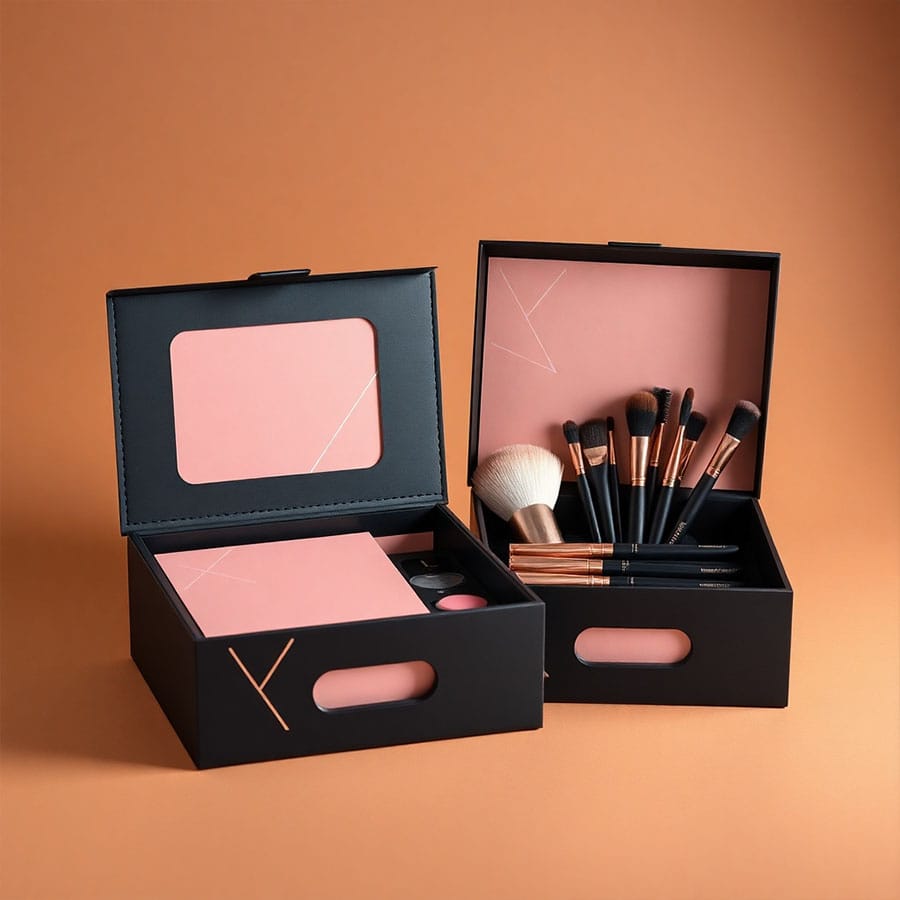
















Description
Custom Double Wall Tuck Top Boxes That Ship Closed and Open Into a Display
You need a box that survives the journey, opens cleanly, and does something useful with the space it creates when it opens. A plain folding carton does the first two and wastes the third.
Most tuck boxes open and stop there. The lid has nowhere to go except in the way. The product is visible but the box itself is just a container sitting on the shelf, doing nothing to pull the shopper in or carry the brand at the point of purchase.
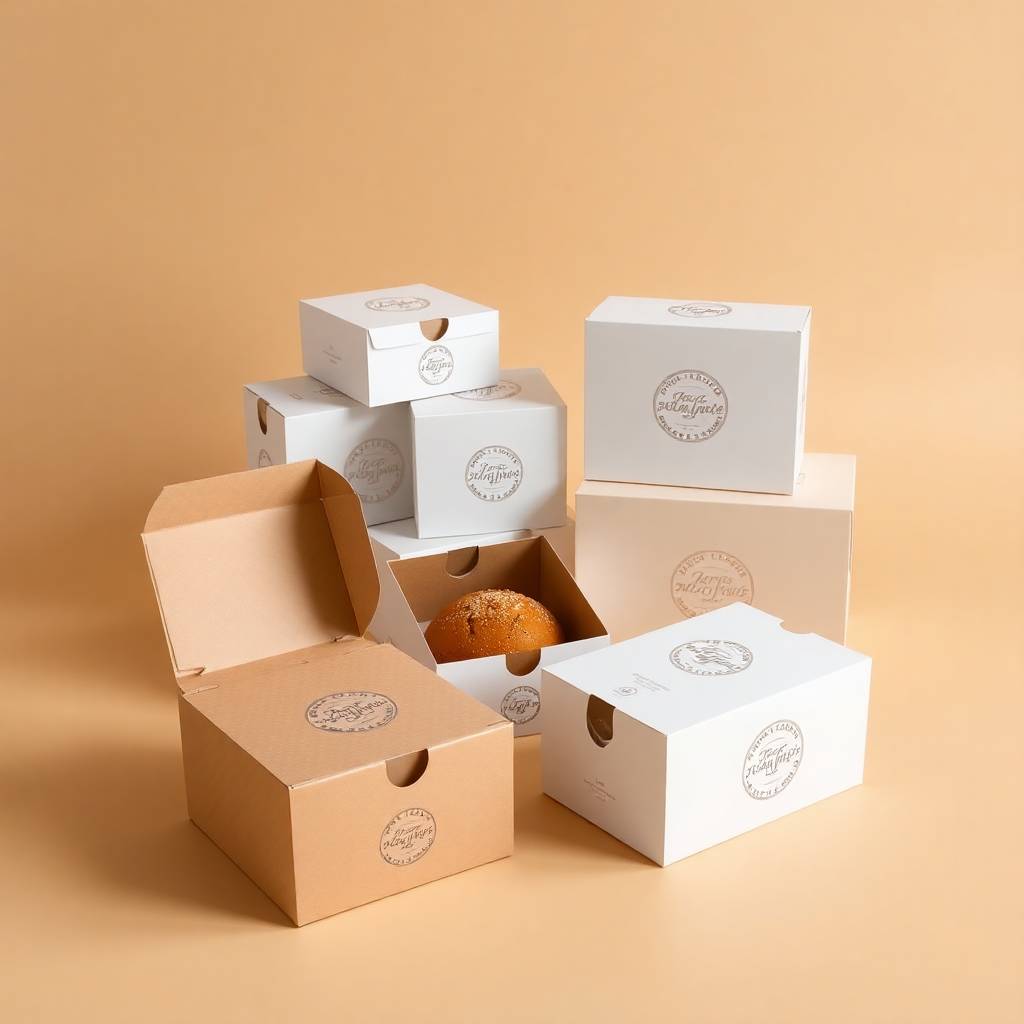
Custom double wall tuck top boxes from Hexa Custom Boxes are built differently. The lid folds back and stands upright to create a built-in display header, branded and ready to work at the register or on the shelf. The rolled double-thick walls hold the tray rigid so the product sits clean and presented. One box. Two jobs. No second purchase needed.
What a Double Wall Tuck Top Box Actually Is
A double wall tuck top box (also called a Roll End Tuck Top box, or RETT) is a one-piece die-cut carton built around three structural features that work together.
Rolled double walls: Each side panel folds over itself before locking into the tray, creating a double layer of board on every wall. This is what gives the box its stiffness and crush resistance without needing glue or a separate insert to keep the shape.
Three-flap tuck lid: The top closure uses three tuck flaps, a main lid flap and two smaller side flaps, that fold down together to seal the box. The side flaps tuck inward first, forming a back wall inside the opening. The main lid then tucks in over them, keeping the whole assembly secure without tape or adhesive.
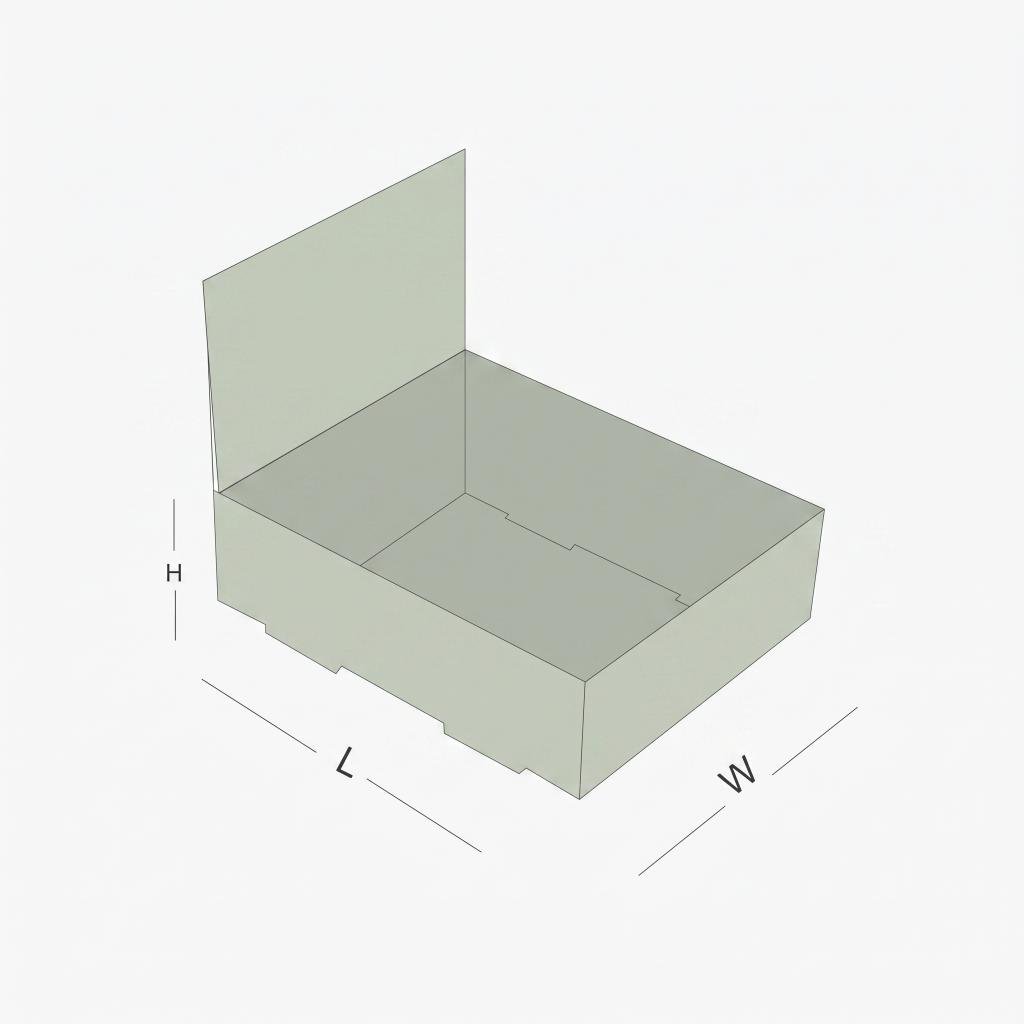
Built-in display mode: When the lid is opened and folded back, it stands upright behind the tray, forming a header panel. Print your brand, a product call-out, or a price point on the inside of the lid and that header becomes point-of-purchase advertising at the moment the box opens.
This is the structural feature competitors describe without ever explaining its real value. That header is why brands in food, cosmetics, electronics accessories, and impulse retail choose tuck top over tuck front.
Tuck Top vs Tuck Front: Which One Do You Actually Need
These two styles share the same rolled double-wall construction. The difference is entirely in how the lid closes and what that means for the front face and the open state.
| Feature | Double Wall Tuck Top (RETT) | Double Wall Tuck Front (RETF) |
|---|---|---|
| Lid closes | Tucks into the inside of the front panel | Wraps over the outside of the front panel |
| Front face when closed | Small tuck edge visible at top | Clean, uninterrupted front panel |
| When lid is opened | Folds back to create a standing display header | Removed or laid flat |
| Best commercial use | Countertop display, retail POP, unboxing reveal | Premium retail shelf, clean front panel required |
| Structural strength | Identical rolled double walls on both | Identical rolled double walls on both |
Choose tuck top when the box opening is part of the sales process. Choose tuck front when the closed front panel has to be flawless for shelf display.
The Built-In Display Header: The Feature Nobody Else Explains
This is the biggest reason to choose a tuck top box over any other folding carton style for retail and impulse categories, and almost every competitor lists it without telling you how to use it.
When a double wall tuck top box opens, the lid folds back and stands upright behind the product tray. That standing panel is your display header. Here is what you can put on it:
- Your brand name and logo at eye level
- A product call-out or tagline that sells the product from the shelf
- A price point or promo message
- A QR code linking to a reorder page, recipe, or product video
- A certification or award that drives trust at the point of decision
The tray below it holds the product, open and visible, so shoppers can see exactly what they are buying before they pick it up. For impulse categories at the register, candy, cosmetics, accessories, small electronics, this is one of the highest-converting display formats in retail without needing a separate PDQ unit or shelf talker.
Where a Double Wall Tuck Top Box Earns Its Keep
| Product and Use Case | Why It Fits | Suggested Material |
|---|---|---|
| Countertop impulse retail (candy, mints, accessories) | Opens into a display header, product visible in the tray | 18pt SBS |
| Cosmetics and skincare sets | Clean open, strong walls, premium print surface | 20 to 22pt SBS |
| Subscription and DTC mailers | Ships flat, builds fast, great unboxing reveal | E-flute corrugated |
| Bakery and food retail | Rolled walls add rigidity, lid folds back for display | Kraft or food-safe SBS |
| Gift sets and product bundles | Substantial feel, organized interior with inserts | 22 to 24pt SBS |
| Small electronics and accessories | Double walls protect in transit, display mode at retail | E-flute or 20pt SBS |
| Sample and kit packaging | Insert-organized tray shows multiple SKUs cleanly | 18 to 20pt SBS |
Add Inserts to Organize the Open Tray
The open tray of a tuck top box is the display surface. A few brands leave it empty and stack product in loosely. That is a missed opportunity.
Custom inserts turn the tray into an organized, brand-consistent display:
- Cardboard dividers: Separate multiple SKUs, colors, or flavors in neat rows so shoppers can see the range at a glance.
- Die-cut foam inserts: Hold fragile or premium products in precise position so nothing shifts or tips.
- Molded pulp trays: Eco-forward option for food, cosmetics, or sustainable brands.
- Printed inserts: Add a branded layer inside the tray so even the floor of the display carries the identity.
An organized tray also restocks faster, which matters for high-turnover counter displays where every minute of staff time counts.
How to Assemble a Double Wall Tuck Top Box (Step by Step)
No other supplier explains this. Here is exactly how it goes together.
- Start with the flat die-cut blank with the tray base pre-scored and creased.
- Fold the two side panels upward along their score lines.
- Roll each side panel inward so the outer layer folds over the inner layer, locking into the tray to form the double wall.
- Load the product into the open tray.
- Fold the two short side flaps of the lid inward first. These form the back wall inside the opening, closing the corners and adding security.
- Bring the main lid flap down and tuck it into the front of the box. It slides in behind the front panel and holds everything closed.
Total time from flat to closed: 10 to 15 seconds per box by hand. To open for display, pull the main flap out and fold the lid back until it stands upright.
Board and Material Options
Match the board weight to your product weight and your intended use.
| Material | Best For | Feel |
|---|---|---|
| 16pt SBS | Lighter products, cost-sensitive runs | Standard folding carton |
| 18pt SBS | Most retail products, food, impulse items | Solid, confident |
| 20 to 22pt SBS | Heavier products, cosmetics, premium retail | Substantial, premium |
| 24pt SBS | Gift sets, luxury, heavier goods | Rigid-feeling walls |
| Kraft (uncoated) | Natural, artisan, eco brands | Earthy, recyclable-forward |
| E-flute corrugated | Ecommerce transit, heavier or fragile products | Protective, stackable |
For most countertop retail applications, 18 to 20pt SBS gives the right balance of display rigidity and cost.
Print That Works Closed, Open, and In Between
A tuck top box has three print surfaces that matter to three different people: the shipper handling it closed, the retail staff placing it open, and the shopper standing in front of the display.
- PMS spot color matching for true, consistent brand color across every panel
- Full CMYK for photographic or multi-color artwork
- Spot UV for logo and accent shine on the exterior front
- Foil stamping on the display header lid for eye-level impact
- Soft-touch matte lamination for a premium counter presence
- Interior print on the lid header and tray floor for the full branded display
Packaging Expert Tip: Design the Lid Interior Like a Mini Billboard
Here is where most brands leave money on the table. They print the outside of the tuck top box carefully and leave the inside of the lid blank, which is the surface that faces shoppers for the entire time the box is in display mode.
The inside of the lid is the display header. It is at eye level. It faces the customer. It is the first thing a shopper reads when they approach the display.
Treat it like a mini billboard, not an afterthought. Put the brand name large, a short product benefit line below it, and either a price point or a QR code in the corner. If you have multiple products in the tray, list the variants. If you have an award or certification, put it here where it earns its keep.
On the exterior, keep the print bold and simple because the outside is a shipper first. On the interior lid, design for the shopper standing two feet away. Those are two different briefs for the same box.
What Every Hexa Order Includes
These terms apply to every order without exception or fine print:
- No die charges and no plate charges, zero hidden setup fees
- Low 100-box minimum for test runs or full production
- 8 to 10 business day turnaround from approved artwork
- Free dielines and ready-to-use templates
- Free 24/7 structural and print support from real packaging people
- 100% recyclable board stock on every order
One Box That Ships Closed, Opens Into a Display, and Sells at the Counter
Rolled double walls for the journey. A standing display header for the shelf. A branded open tray that lets the product sell itself. All from a single flat-shipping, no-glue carton that builds in seconds.
Get your free quote today. No setup fees, low 100-box minimum, delivered in 8 to 10 business days.
- 👉 Request a Free Quote
- 📞 Talk to a packaging expert — free 24/7 support
- ✉️ Email us anytime: hello@hexacustomboxes.com