There is no heartbreak quite like ordering 5000 custom-branded boxes only to realize your product is exactly 2mm too wide to fit inside. In the packaging world, space isn’t just “room”—it’s money. Measuring your box correctly is the difference between a premium unboxing experience and a logistical nightmare of damaged goods and “Dimensional Weight” shipping surcharges.
Whether you are a startup launching your first product or an established brand looking to optimize shipping costs, this 100% all-in guide will turn you into a packaging pro. From understanding the “Golden Order” of dimensions to mastering the measurement of 10 different box styles, we’ve got you covered.
Jump to a Section:
- I. Why 1mm Matters – The stakes of getting it right.
- II. The Golden Order (L x W x D) – Why sequence is everything.
- III. Inner vs. Outer Dimensions – The hidden trap of material thickness.
- IV. Inches vs. CM vs. MM – Choosing the right unit for manufacturing.
- V. How to Measure Your Product – The “Bounding Box” technique.
- VI. Measuring 10 Famous Box Styles – Specific guides for every shape.
- VII. Volume & Shipping Costs – How size dictates your shipping bill.
- VIII. 2D Dielines vs. 3D Renders – Visualizing the flat and the folded.
- IX. The Hexa Final Checklist – 5 points to check before you order.
I. Introduction: Why 1mm Can Make or Break Your Brand
In the packaging industry, we have a saying: Measure twice, print once. If your box is too small, your product won’t fit, and your entire inventory becomes useless. If it’s too large, your product will rattle around inside, leading to damage during transit. Furthermore, modern shipping carriers like DHL and FedEx use a calculation called Dimensional Weight. This means if your box is unnecessarily bulky, you aren’t just paying for the weight of the item—you’re paying for the “empty air” inside.
At Hexa Custom Boxes, we see brand owners save thousands of dollars simply by shaving 5mm off their box dimensions. Our goal with this guide is to move you from “guessing” to “engineering” your perfect fit.
II. The Anatomy of a Box: Understanding L x W x D/H
In the packaging industry, consistency is the key to clear communication. To ensure your manufacturer, designer, and shipping carrier are all on the same page, we use a standard “Golden Order” for measurements.
The Golden Order: Length x Width x Depth (Height)
Whenever you see a box dimension listed, it is almost universally presented in this sequence: Length (L) x Width (W) x Depth/Height (D/H).
If you mix these up, you might end up with a box that opens on the wrong side or a dieline that doesn’t fit your printing press.
How to Identify Each Dimension
The secret to measuring correctly is to look at the opening of the box. Place the box on a table with the open side facing up.
- Length (L): This is always the longer side of the opening.
- Width (W): This is the shorter side of the opening.
- Depth/Height (D/H): This is the only dimension not related to the opening—it is the vertical distance from the top of the opening to the bottom of the box.
Visualizing 2D vs. 3D
- 3D Space: This is the assembled box you hold in your hand.
- 2D Space: This is the “Dieline”—the flat sheet of cardboard before it is cut and folded.
Understanding that a 3D height of 100mm becomes a flat 2D segment on a sheet is how packaging engineers plan for material usage.
III. Inner vs. Outer Dimensions: The Professional’s Secret
This is where 90% of measuring errors occur. There is a significant difference between what your product needs and what the shipping truck sees.
Inner Dimensions (ID): What Your Product “Sees”
Inner dimensions are the measurements of the usable space inside the box. When you tell a manufacturer you need a box for a 10cm wide bottle, you are talking about inner dimensions.
- Standard Practice: At Hexa, we always work with Inner Dimensions first to ensure your product fits perfectly.
Outer Dimensions (OD): What the Carrier “Sees”
Outer dimensions include the thickness of the box material itself. A box made of thick, double-wall corrugated cardboard will have much larger outer dimensions than a thin paperboard box, even if they hold the exact same product.
- Why it matters: Shipping companies calculate your shipping rates based on the Outer Dimensions.
The “Wall Factor”: Material Thickness
Material thickness is often referred to as the caliper or flute.
- Folding Carton (SBS): Very thin (approx. 0.5mm). ID and OD are almost the same.
- E-Flute Corrugated: Approx. 1.5mm thick.
- B-Flute Corrugated: Approx. 3mm thick.

The Trap: If you measure the outside of a thick corrugated box and use those numbers to order new boxes, your product likely won’t fit because the thickness of the walls will “eat” the internal space.
IV. Precision Tools: Inches vs. CM vs. MM
When you are communicating with a factory or a structural designer, the units you choose can be the difference between a snug fit and a loose disaster.
Why Millimeters (mm) is the King of Precision
In the packaging industry, Millimeters are the global standard for manufacturing. Why? Because working with fractions of an inch (like 1/16th or 1/32nd) leaves too much room for human error during the die-cutting process.
- 1mm accuracy ensures that the “score lines” (where the box folds) are perfectly aligned.
- Pro Tip: Even if you prefer inches, convert your final numbers to mm for your manufacturer to ensure there is zero “lost in translation” error.
Measurement Cheat Sheet
If you are used to working in inches, keep these standard conversions handy:
- 1 inch = 25.4mm
- 10cm = 100mm
- Standard 4x4x4 box = 101.6 x 101.6 x 101.6mm
The Tool Kit: What You Need
- Steel Ruler: Better than plastic, it doesn’t warp and gives a true “zero” start point.
- Digital Calipers: If you are selling small items like cosmetics or electronics, calipers are essential for measuring the diameter or thickness of your product down to the decimal.
- Measuring Tape: Good for large shipping boxes, but avoid using it for small retail folding cartons where precision is vital.
V. How to Measure Your Product (The DIY Home Method)
Before you can decide on a box size, you must know the exact footprint of your product. Here is the “Bounding Box” technique we use at Hexa.

Step 1: Create the “Bounding Box”
Place your product on a flat table. If your product is irregular (like a bottle with a pump or a toy with protruding parts), imagine a transparent rectangular box around it.
- Length: Measure the longest distance from left to right.
- Width: Measure the distance from front to back.
- Height: Measure from the tabletop to the highest point of the product.
Step 2: The “Safety Buffer” Rule (Wiggle Room)
Never order a box that is the exact size of your product. You need a buffer for two reasons:
- Ease of Packing: You don’t want your staff (or your customer) struggling to shove the item into a tight space.
- Protection: Air space acts as a cushion.
The Hexa Rule of Thumb:
- For Retail Boxes (Small items): Add 2mm to 3mm to your L, W, and D.
- For Shipping Boxes (Corrugated): Add 5mm to your L, W, and D.
Step 3: Accounting for Inserts and Padding
If you plan on using bubble wrap, tissue paper, or a custom foam insert, you must measure the product while it is wrapped.
Example: If your product is 100mm wide and you wrap it in two layers of bubble wrap, your new width might be 115mm. Always measure the final “ready-to-ship” bundle.
VI. The 10 Most Common Box Styles: How to Measure Each
Not all boxes are measured the same way. Depending on the folds, flaps, and closures, your measurement points might shift. Here is how to measure the “Famous 10” box styles correctly.
1. Standard RSC (Regular Slotted Container)
- How to measure: Measure the internal space from the bottom fold to the top opening.
- Pro Tip: Remember that the flaps meet in the center, your “Length” is the side where the major flaps meet.
2. Tuck Top Box (Folding Carton)
Common in retail (e.g., medicine or small electronics).
- How to measure: Length and Width are the opening. Depth is the distance between the two openings (top and bottom).
- Note: Do not include the “tuck flap” (the part that goes inside) in your height measurement.
3. Mailer Box (Ear Lock)
The “Instagrammable” subscription box.
- How to measure: Because these have double-thickness walls on the sides, always measure the interior.
- The “Ear” Factor: Measure the interior width from wall to wall, not including the locking tabs.

4. Sleeve and Tray (Drawer Box)
- How to measure: Measure the Tray (the inner part) first. The Sleeve dimensions are calculated by the manufacturer to be slightly larger (approx. 1mm–2mm) to allow for a smooth slide.
5. Two-Piece Rigid Box (Lid and Base)
Luxury packaging for phones or jewelry.
- How to measure: Provide the dimensions of the Base. The lid is engineered with a “friction fit” to be slightly wider so it can slide over the base without falling off.
6. Pillow Box
- How to measure: This is tricky! Measure the flat width (center to center) and the maximum depth at the widest part of the curve.
7. Gable Box (Handle Box)
- How to measure: Only measure the usable rectangular space at the bottom. The “triangular” top and handle are considered extra height and should be labeled separately as “Total Height.”

8. Auto-Lock Bottom Box
Common for heavy retail items.
- How to measure: Measure like a standard tuck top, but ensure you measure from the inside base once the bottom is “locked” into place.
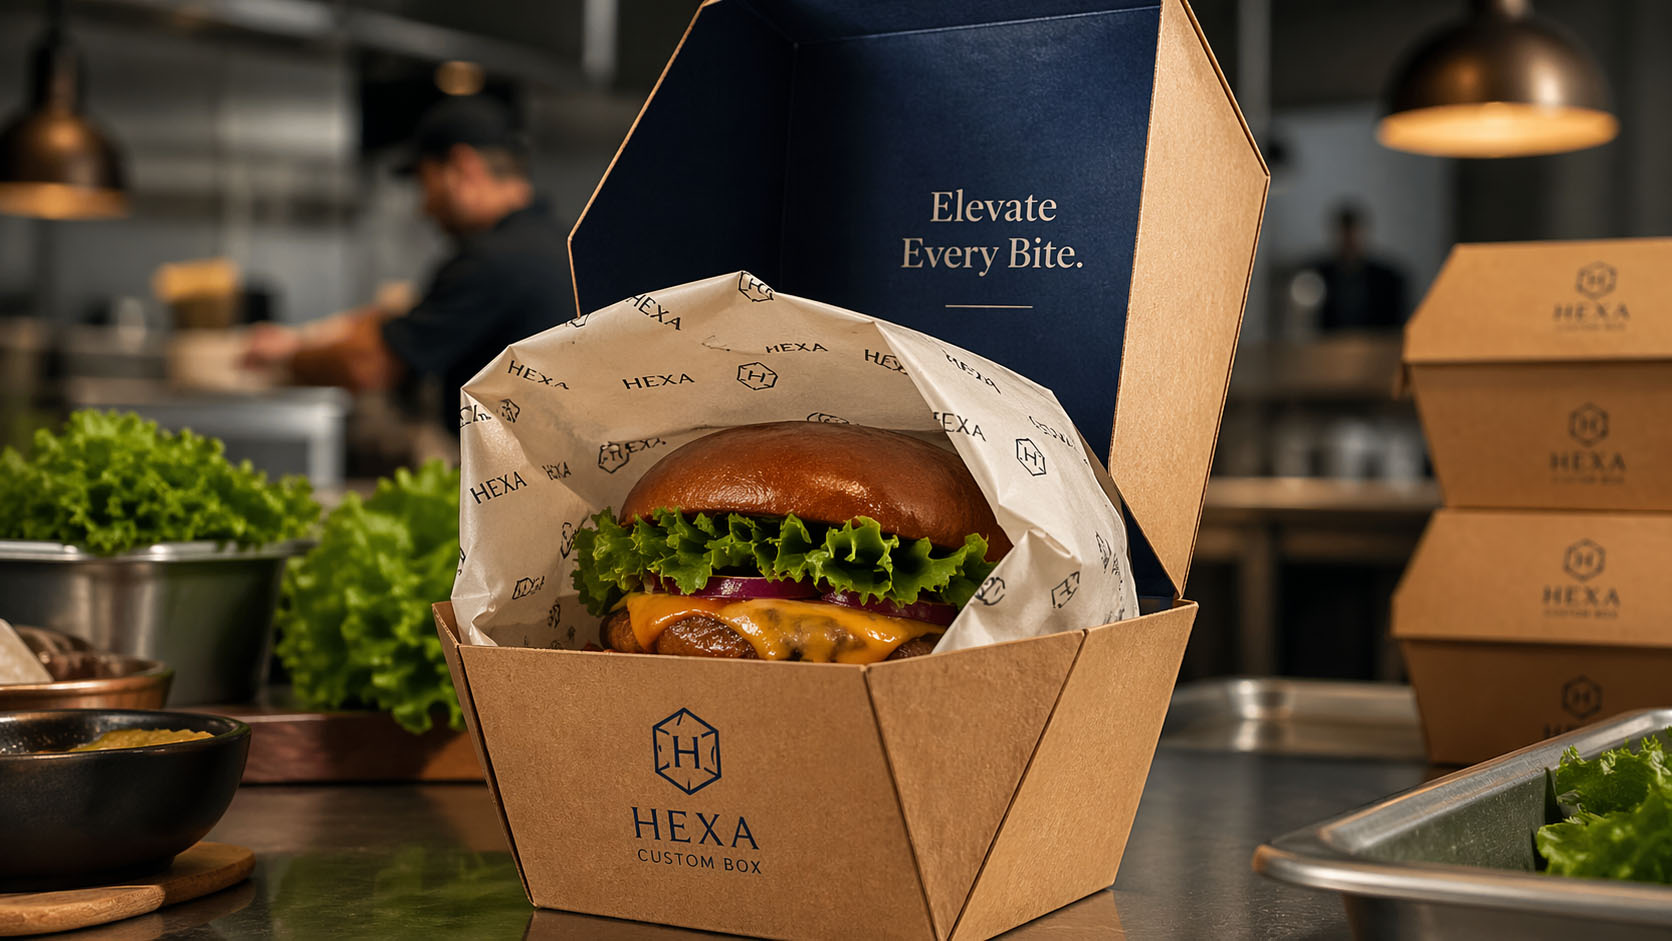
9. Hexagon / Octagon Boxes
- How to measure: These are measured “Flat-to-Flat” (the distance between two parallel sides) rather than corner-to-corner.
10. Sleeve / Belly Band
- How to measure: Provide the Length, Width, and Height of the box the sleeve will wrap around. We calculate the “Girth” to ensure it fits snugly without tearing.
| Box Style | Primary Use Case | What to Measure (L x W x D) | Expert Tip |
| 1. Standard RSC | Shipping / Moving | Internal space from bottom fold to top opening. | The “Length” is the side with the major flaps. |
| 2. Tuck Top | Retail / Cosmetics | Dimensions of the top opening and vertical depth. | Don’t include the “tuck-in” flap in the depth. |
| 3. Mailer (Ear Lock) | Subscription Boxes | Interior width, length, and height. | Account for double-wall thickness on the sides. |
| 4. Sleeve & Tray | Luxury / Electronics | The Inner Tray dimensions first. | We engineer the sleeve to be 1-2mm wider for a smooth slide. |
| 5. Two-Piece Rigid | Jewelry / Phones | The Base (bottom) box dimensions. | The lid is automatically sized for a “friction fit.” |
| 6. Pillow Box | Small Gifts / Favors | The flat width and the max depth of the curve. | Usable space is always smaller than the flat size. |
| 7. Gable Box | Party Favors / Food | The rectangular base (Length x Width x Height). | Do not include the handle in the “Usable Height.” |
| 8. Auto-Lock Bottom | Heavy Retail Items | Interior base to top opening. | Measure after the bottom is snapped into place. |
| 9. Hexagon/Octagon | Specialty Branding | Distance “Flat-to-Flat” across the center. | Measuring corner-to-corner will lead to an oversized box. |
| 10. Sleeve / Band | Food / Soaps | L x W x D of the object it wraps around. | We calculate the “Girth” to ensure a snug fit. |
VII. Advanced Concepts: Volume & Shipping Costs
Once you have your dimensions, you can calculate the two most important numbers for your bottom line: Volume and Dimensional Weight.
1. Calculating Volume
Volume tells you how much space your box occupies.
- The Formula: Length x Width x Height = Volume
- Why it matters: If you are selling liquids, powders, or “loose-fill” items (like popcorn or coffee), volume helps you determine the capacity.
2. Dimensional Weight (DIM): The “Size Tax”
Shipping carriers (UPS, FedEx, DHL) don’t just charge by how much a box weighs; they charge by how much space it takes up in their truck.
- The Formula: (L x W x H) / DIM Factor = Dimensional Weight
- The Lesson: If you have a light product in a large box, you are paying for “shipped air.” Reducing your box height by just 10mm can often drop your shipping costs by a tier.

VIII. From 2D to 3D: Dielines and Renders
Before your box becomes a physical object, it exists in two distinct states. Understanding the transition from a flat sheet to a folded container is the “final exam” of packaging design.
1. The 2D Dieline (The Blueprint)
A Dieline is a flat, two-dimensional template that shows every cut, fold (score line), and glue tab of your box.
- Solid Lines: These indicate where the machine will cut.
- Dashed Lines: These indicate where the machine will crease or fold.
- The Bleed: This is the extra space for your artwork (usually 3mm) that extends past the cut line to ensure no white edges appear if the machine shifts slightly.
2. The 3D Render (The Reality Check)
At Hexa Custom Boxes, we take your 2D dieline and wrap it into a 3D digital mock-up. This is your safety net. It allows you to see if your logo is upside down, if text is hidden by a flap, or if the dimensions look “off” relative to your product.

IX. The Hexa “Final Check” Checklist
Before you hit “Submit” on your order or send your dimensions to our design team, run through this 5-point checklist. It takes 60 seconds but can save you thousands of dollars.
- Did I measure the Internal Dimensions? (Ensure your product actually fits inside).
- Is the order L x W x D? (Length and Width are the opening, Depth is the height).
- Did I include a 2mm–5mm Safety Buffer? (Avoid the “too tight” struggle).
- Are my units clearly labeled? (Specifically, did you use MM for precision?).
- Did I account for padding? (Measure your product with its bubble wrap or tissue paper).
X. Conclusion: Your Partner in Precision
Measuring packaging doesn’t have to be a guessing game. By following the “Golden Order” and understanding the difference between the space your product needs and the space the shipping carrier charges for, you are already ahead of 90% of brand owners.
At Hexa Custom Boxes, we don’t just take your numbers and print. Our structural engineers review every project to ensure that the dimensions you’ve provided will result in a sturdy, professional, and cost-effective box.
Your Next Step
Your brand’s first physical touchpoint with a customer is the box. Let’s make sure it fits perfectly.