

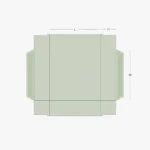













Description
Custom Four Corner Trays That Pop Open Instantly and Display Products Cleanly
A tray that needs tape to stay together slows down every packing line it touches. A tray sized wrong for the product either buries the contents behind walls that are too tall or lets products slide and tip because the walls are too short. And an unbranded tray does nothing to sell the product it is carrying.
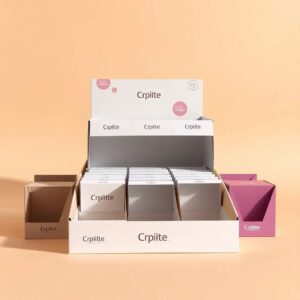
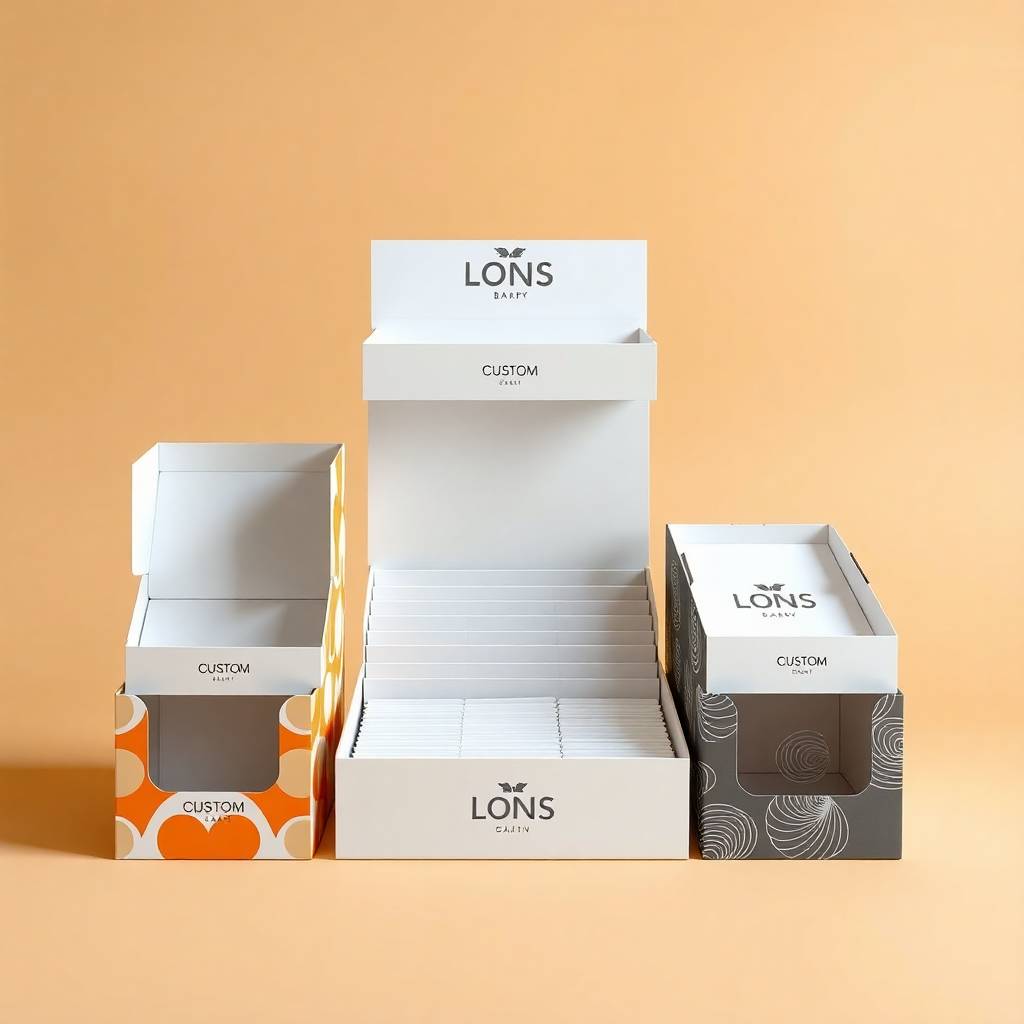
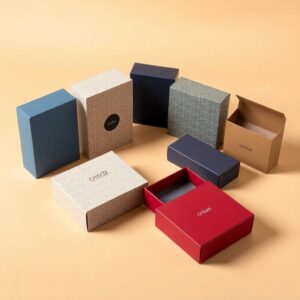
Custom four corner trays from Hexa Custom Boxes are built differently. Pre-glued corners pop rigid in one motion with no tape, glue, or tools at assembly. The open-top base puts the product on full display. Four printable walls carry your brand at every angle. Flat-shipped until the moment you need them, built in seconds when you do.
What Makes a Four Corner Tray Different From Other Open Trays
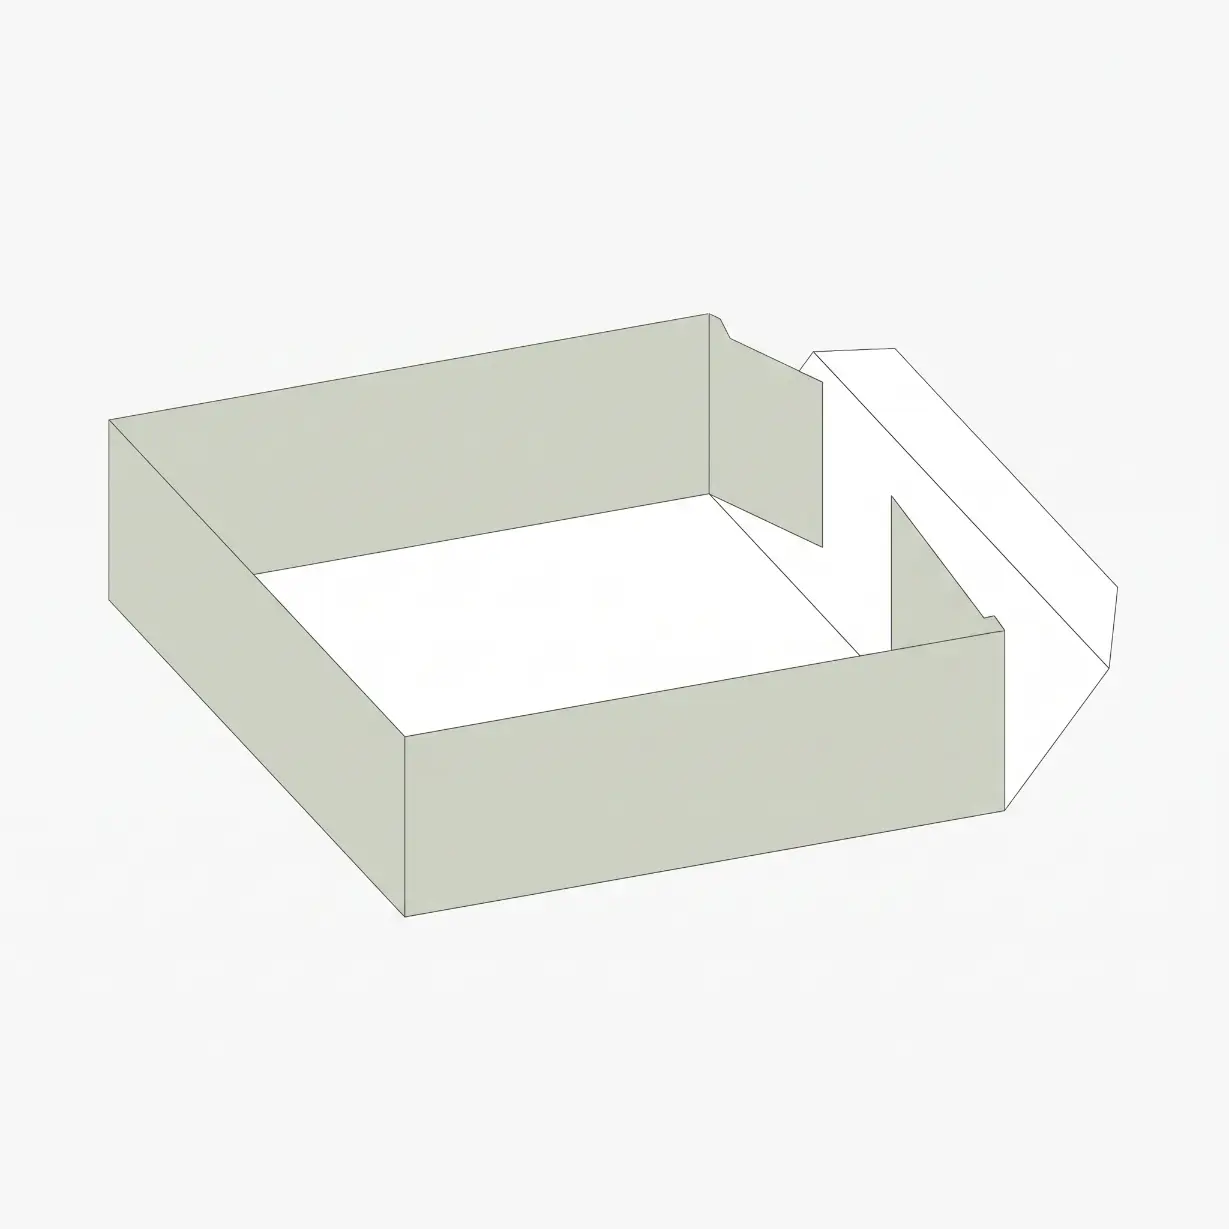
A four corner tray is an open-top rectangular base tray where each corner is formed by a pre-glued flap that creates a rigid corner post when the tray is squared up. That pre-glued construction is what distinguishes it from other open tray styles and determines what it can hold and how fast it builds.
How the pre-glued corner works: The corner flaps are glued at the factory before the tray is shipped flat. When the tray arrives and is squared up, those glued flaps fold into a rigid 90-degree post at each corner automatically. The glue joint holds the corner perpendicular under load without any further fastening. The result is a tray that builds in one motion and holds its shape under the product weight for which it is sized.
Why this matters structurally: A pre-glued corner post distributes compression load vertically through the glued joint rather than relying on tab tension alone. Under moderate product weight and repeated handling, a glued corner holds more reliably than a friction-lock tab, which is why four corner trays are preferred for displays that will be restocked repeatedly and handled by retail staff throughout the day.
Four Corner Tray vs Other Open Tray Styles: Choosing the Right One
This is the comparison no competitor makes, and it is the most useful decision guide for a buyer shopping between open tray formats.
| Tray Style | Corner Construction | Assembly | Best For |
|---|---|---|---|
| Four corner tray (this) | Pre-glued corners, rigid post on squaring up | One motion, no tools | Retail display, bakery counter, gift presentation, moderate weight |
| Foot lock tray | Extended foot panels fold and interlock, no glue | Sequential fold, no tools | Bakery, garments, inner organizing tray, lighter loads |
| Double wall tray | Rolled double-thick walls, corner lock | Roll and lock, no tools | Heavier loads, pallet stacking, shelf-ready display |
| Single-wall slotted tray | Side panels slot into base cuts | Simple fold and slot | Lightest products, low-cost, minimal structure |
Choose a four corner tray when you want fast pre-glued assembly, an open-top display format, and a clean branded print surface across all four walls. Choose a foot lock tray when you want a glue-free no-adhesive structure. Choose a double wall tray when the product weight or stacking load requires double-thick walls.
The Tray Depth Rule: Sizing for Display vs Containment
This is the sizing decision that determines whether a four corner tray shows the product or buries it, and no competitor addresses it.
A four corner tray can be used in two fundamentally different ways, and the tray wall height should be sized differently for each.
Display use: The tray sits on a counter or shelf with the product visible above the walls. For this application, the tray wall height should be roughly one-third to one-half the product height. The product stands above the wall so a customer approaching from a meter away can see it before they are directly above the tray. If the walls are taller than the product, the tray becomes a container rather than a display.
Containment use: The tray holds the product securely with the walls equal to or slightly above the product height, preventing tipping and sliding during handling and transit. For this application, wall height at or slightly above the product’s center of gravity is the right spec.
For two-piece tray and lid applications, the tray wall height also determines the lid depth required for a flush close. Size the tray first, then spec the lid to match.
Two-Piece Tray and Lid: Turning an Open Tray Into a Presentation Box
Every competitor mentions that four corner trays can be paired with a lid. Nobody explains what that means in practice or how to brief it.
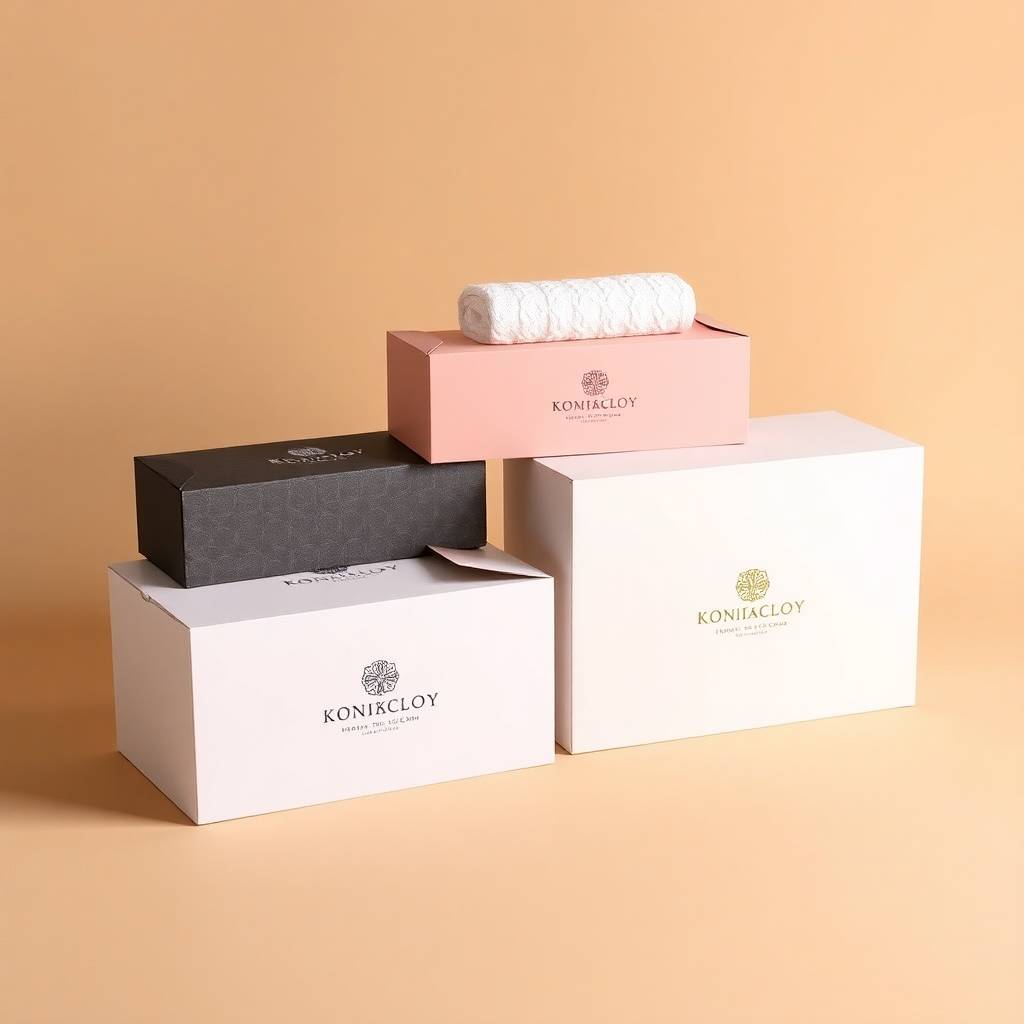
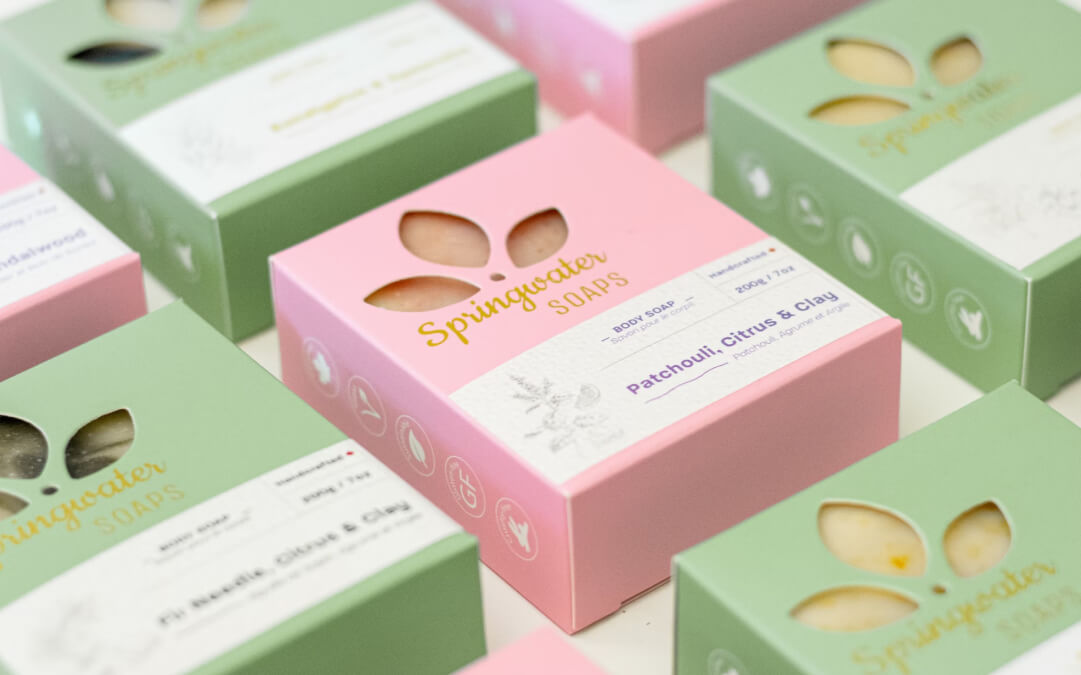
A four corner tray paired with a matching lid creates a two-piece presentation box: an open display tray as the base and a fitted cover that closes over it for transit, gifting, or counter display. The two pieces work together as follows.
The tray: Open-top, branded on all four outer walls, sized to the product footprint and display depth as above.
The lid: A separate four corner structure built to the same footprint as the tray exterior, with walls deep enough to close flush over the tray walls. The lid can be a full-depth cover that conceals the tray entirely, or a shallow lip that sits partially down the tray walls for a reveal effect.
The lid interior: The underside of the lid is a printable surface that faces the product when the lid is on and faces the customer when the lid is lifted. Print a brand message, a thank-you note, a QR code, or a product story here.
Sleeve alternative: Instead of a lid, a printed sleeve can slide over the assembled tray from above or from the side, branding the exterior while leaving the tray open at both ends for fast loading and unloading in high-volume bakery or food service applications.
Where Four Corner Trays Earn Their Keep
| Product and Use Case | Why It Fits | Recommended Material |
|---|---|---|
| Bakery counter display (donuts, muffins, macarons) | Open top shows product, pre-glued speed on a busy line, food-safe options | Food-safe SBS or kraft |
| Folded apparel (shirts, scarves, knitwear) | Clean open presentation, tray holds garment flat and displayed | 18 to 20pt SBS |
| Gift sets and product kits | Tray presents multiple items organized, pairs with lid for enclosure | 20pt SBS |
| Cosmetics and skincare displays | Open tray at point of sale with product visible, branded walls | 18 to 20pt SBS |
| Confectionery and chocolate retail | Low-profile tray shows product, food-safe liner options | Food-safe SBS |
| Produce and fresh food service | Open tray for counter or takeaway service | Kraft or food-safe corrugated |
| Stationery and craft retail | Open display tray on retail shelf | 16 to 18pt SBS |
Food Safety for Four Corner Trays in Bakery and Food Applications
Bakery and food service is one of the most common applications for four corner trays, and most suppliers say nothing about food contact compliance. Here is what you actually need to know.
For indirect food contact (where baked goods are in bags, cups, or wrappers before going into the tray), standard SBS or uncoated kraft is appropriate. The board does not touch the food.
For direct food contact (where an unwrapped pastry, donut, or cookie sits directly on the tray base or against the tray walls), specify a food-safe clay-coated SBS or PE-lined kraft. The coating prevents oil and moisture from wicking into the board and eliminates any risk of ink or fiber contact with the food surface.
For warm food or heated display environments, confirm the board spec before ordering. Standard SBS will soften under prolonged heat and humidity. A PE-coated or wax-treated board maintains tray rigidity in warm service conditions.
When you request a quote for bakery or food use, tell us whether the product contacts the tray directly and whether the tray will be used in a warm or refrigerated environment. We confirm the right material before production.
How to Assemble a Four Corner Tray
Nobody explains this. Here is exactly how it goes together.
- Start with the flat die-cut blank, printed side facing out.
- Hold the tray with the base panel facing down and the four wall panels facing up.
- Fold the two long wall panels upward along their score lines.
- Fold the two short wall panels upward.
- At each corner, the pre-glued flap folds inward automatically as the short wall rises. Press the corner firmly until it sits square and the glue joint is fully engaged.
- The tray is now rigid and ready to load.
Total assembly time: under 10 seconds per tray by hand. No tape, no glue, no tools.
Board and Material Options
| Material | Best For | Notes |
|---|---|---|
| 16pt SBS | Light retail products, stationery, short display periods | Cost-effective, good print surface |
| 18pt SBS | Most bakery, cosmetics, and retail display applications | Standard spec for this tray style |
| 20 to 22pt SBS | Gift sets, heavier items, premium retail presentation | More substantial walls, better for two-piece builds |
| Kraft (uncoated) | Natural, artisan, eco-forward, bakery brands | Food-compatible options available |
| Food-safe coated SBS | Direct food contact, oily or moist products | Oil and moisture resistant |
| E-flute corrugated | Heavier products, produce, outdoor or food service | Best base strength, stackable |
Print That Works From Every Angle
A four corner tray has four wall panels and a base, all printable. Here is how to use each surface.
- Four outer walls: Brand name, logo, product name, and brand color at every angle. A customer approaching the display sees the brand before they see the product.
- Four inner walls: A contrasting color or subtle pattern that frames the product visually when the tray is viewed from above.
- Base interior: A branded tray floor visible when the product is removed, useful for gift sets and premium retail.
- Lid underside (if paired with a lid): A message or design that faces the customer the moment the lid is lifted.
Print finishes: PMS spot-color matching, full CMYK, Spot UV, foil stamping, matte or gloss lamination. Food-safe inks available for any tray going into direct food contact use.
Packaging Expert Tip: Size the Tray to the Audience, Not Just the Product
Here is the sizing principle that most brands get wrong when briefing a four corner tray.
Brands size the tray to the product footprint plus standard clearance, which is the right approach for a shipping box. For a display tray, the wrong one.
A display tray is sized for the audience, not the product. That means:
For counter display: Size the wall height so the product is clearly visible from customer eye level at the counter, typically one-third to one-half the product height. Taller walls look like a storage bin from across the counter.
For shelf display: Size the tray footprint to the shelf section allocation, not just the product. A tray that uses the full shelf section anchors the brand’s space and prevents competitor products from creeping into the allocation.
For retail gifting: Size the tray slightly larger than the product footprint to leave 10 to 15mm of branded tray wall visible around the product when viewed from above. The visible tray margin frames the product and makes the whole presentation look considered and intentional.
Brief the tray size the same way a retail merchandiser would brief a display fixture: start with where it lives and who looks at it, then work back to the product dimensions.
What Every Hexa Order Includes
These terms apply to every order without exception or fine print:
- No die charges and no plate charges, zero hidden setup fees
- Low 100-piece minimum for test runs or full production
- 8 to 10 business day turnaround from approved artwork
- Free dielines and ready-to-use templates
- Free 24/7 structural and print support from real packaging people
- 100% recyclable board stock on every order
A Tray That Builds in Seconds, Holds Its Shape All Day, and Shows the Product Off
Pre-glued corners, open-top display, four branded walls, and a base that holds without tape from the first build to the last restock of the day. Ready in 8 to 10 business days.
Get your free quote today. No setup fees, low 100-piece minimum, delivered in 8 to 10 business days.
- 👉 Request a Free Quote
- 📞 Talk to a packaging expert — free 24/7 support
- ✉️ Email us anytime: hello@hexacustomboxes.com